Who should skip: You only want one-touch coffee with zero tweaking. Start with capsule picks or super-automatics.
What espresso is (and isn’t)
Espresso is a concentrated coffee brewed by pushing hot water through a compacted puck of fine coffee at pressure. The goal at home isn’t “perfect specs”, it’s a repeatable routine that tastes good in your cup.
Concentration
Small volume, high intensity. Great alone or as a base for milk drinks.
Repeatability
Consistency comes from grind + dose + distribution + temperature stability.
Trade-offs
Speed vs control, simplicity vs tinkering. Pick the lane you’ll enjoy daily.
A simple “golden start” recipe
If you’re new, don’t start by chasing tiny details. Start with a sensible baseline, then adjust one variable at a time.
Baseline (works for many medium roasts)
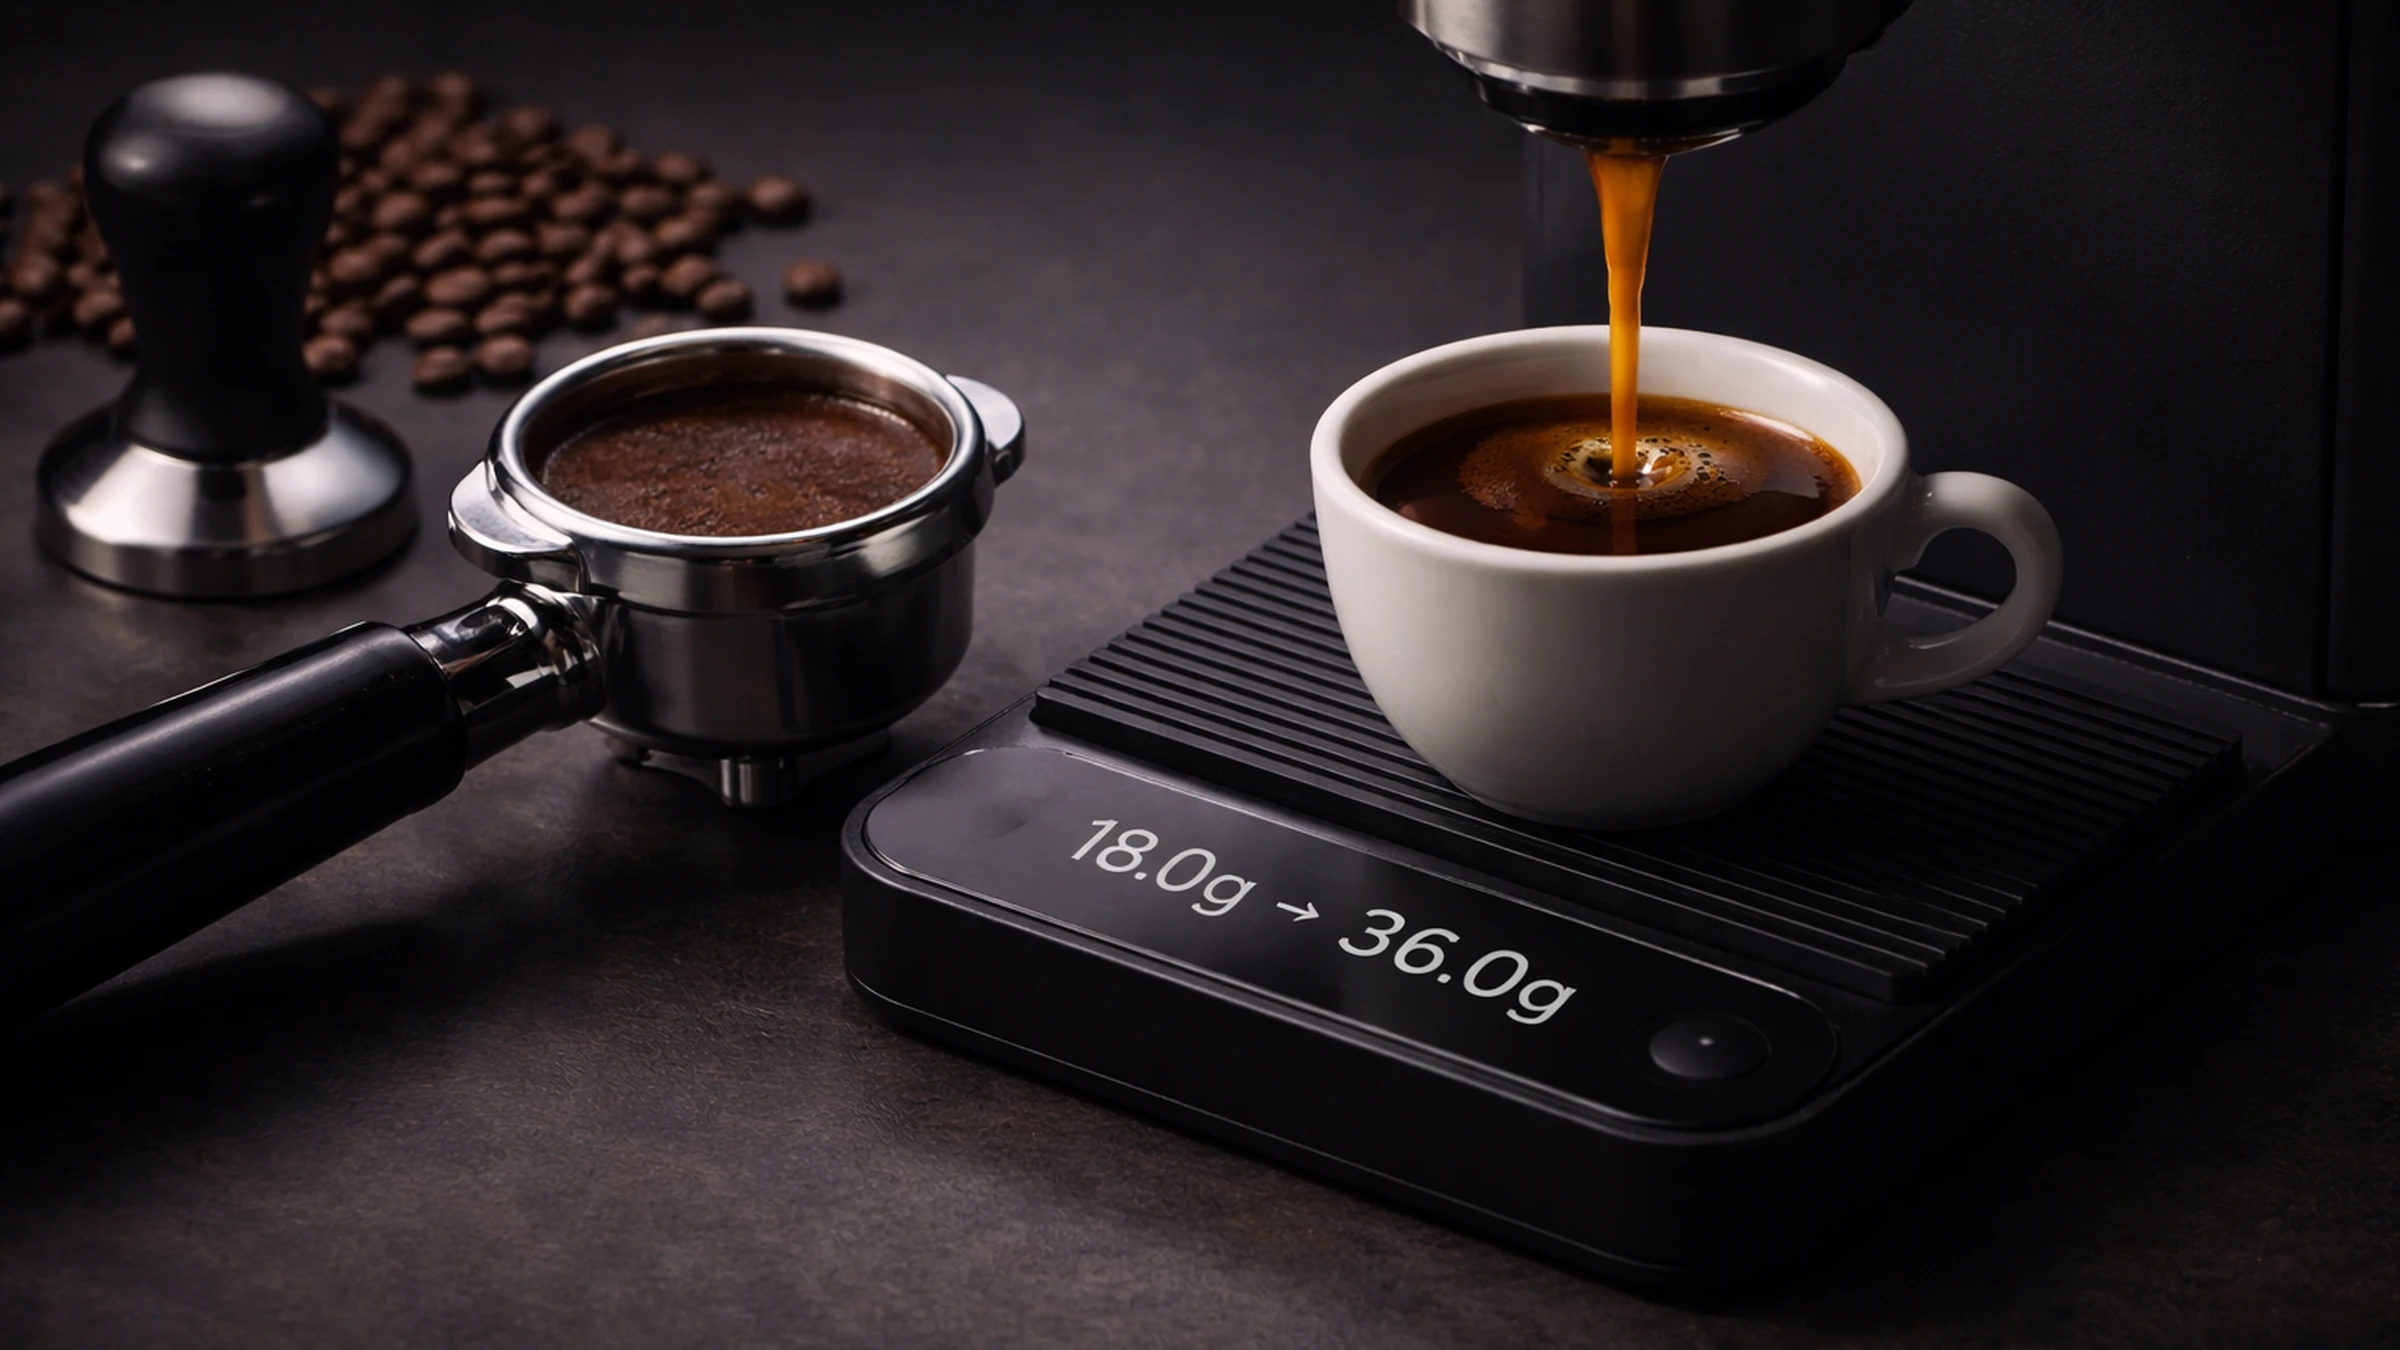
- Dose: use the basket’s comfortable range (often ~18g for a “double” basket).
- Ratio: 1:2 (example: 18g in → 36g out).
- Time: ~25–35 seconds (from first drip to target yield is a practical start).
- Temperature: default setting is fine to start.
If this tastes too sour: grind finer (or increase temp slightly). Too bitter/dry: grind coarser (or lower temp slightly).
Gear checklist (what actually matters)
You don’t need a lab. You do need a grinder capable of espresso and a way to measure dose and yield.
Must-have
Espresso-capable grinder, scale (0.1g), fresh beans.
Nice-to-have
WDT tool, dosing funnel, tamp mat, bottomless portafilter (for feedback).
Optional
Precision baskets, puck screens, high-end tampers. Add later if you enjoy the hobby.
Grinder first, almost always
If you’re upgrading one thing, upgrade the grinder. It’s the consistency engine.
A repeatable espresso workflow
Think of espresso as a short routine. When every step is “good enough”, results become stable fast.
1) Warm up + purge
Let the machine stabilize. Flush briefly to bring the group to temp.
2) Dose consistently
Weigh your beans or grounds. Consistency beats guessing.
3) Distribute evenly
Avoid clumps and “hills”. Even density reduces channeling.
4) Tamp level
Level tamp matters more than “insane force”. Repeatable is the goal.
5) Brew to yield
Stop the shot by target grams out, not by “how it looks”.
6) Taste + adjust
If it’s off, adjust grind first. Keep notes for 2–3 shots, not 20.
Dialing-in without pain
Dialing-in means adjusting grind and yield until taste lands where you want. Keep the baseline, then steer gently.
If it tastes sour / thin
Grind finer (slower flow) or slightly increase yield time. For light roasts, a touch more temperature can help.
If it tastes bitter / dry
Grind coarser (faster flow) or slightly reduce contact time by hitting yield earlier.
Common mistakes (and quick fixes)
Chasing time only
Stop by yield (grams out). Time is feedback, not the goal.
Changing everything
One change per shot. Otherwise you can’t learn what helped.
Ignoring maintenance
Old oils and scale flatten flavour. Clean regularly, descale as needed.
Want “least-regrets” gear?
If you’re shopping, start with the picks built around home workflow.